How to ~ Felt flower.

So as promised I am posting a tutorial of how too make a simple felt flower. These are really quick, cute and simple and can be used for loads of craft projects.

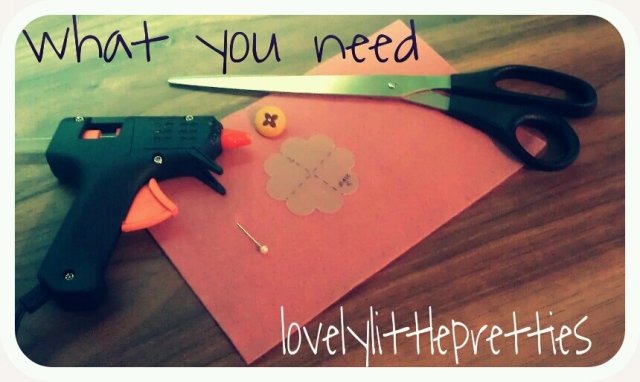
First of all you will need
*felt
*hotglue gun
*scissors
*flower template (mine is from hobbycraft)
*button
*pin

image

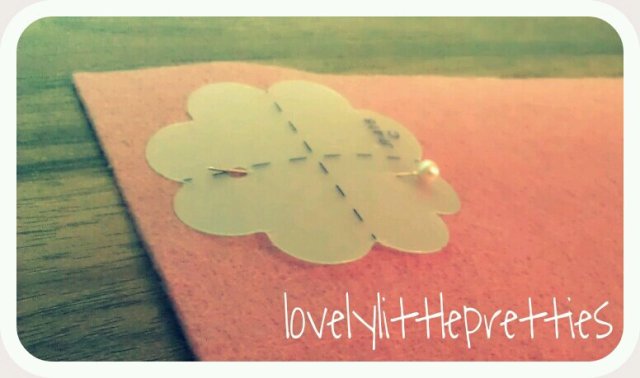
Step one

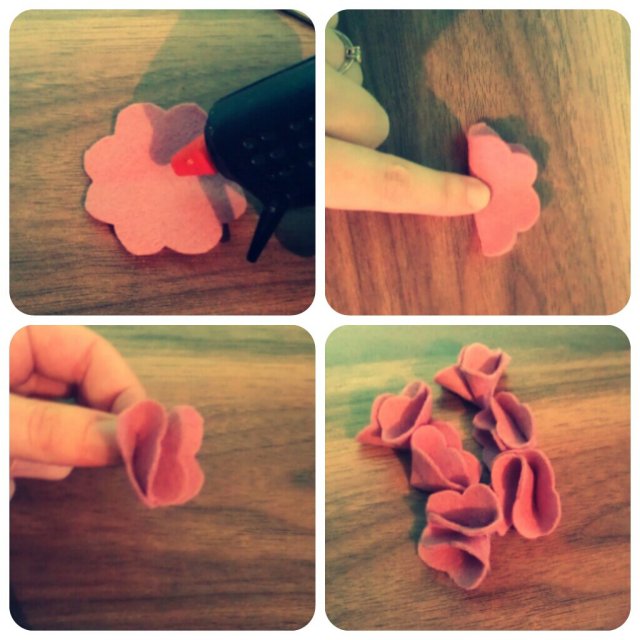
Line your template up and pin to the felt. Remember you we need to get at least 6 flower shapes from your piece of felt.

image

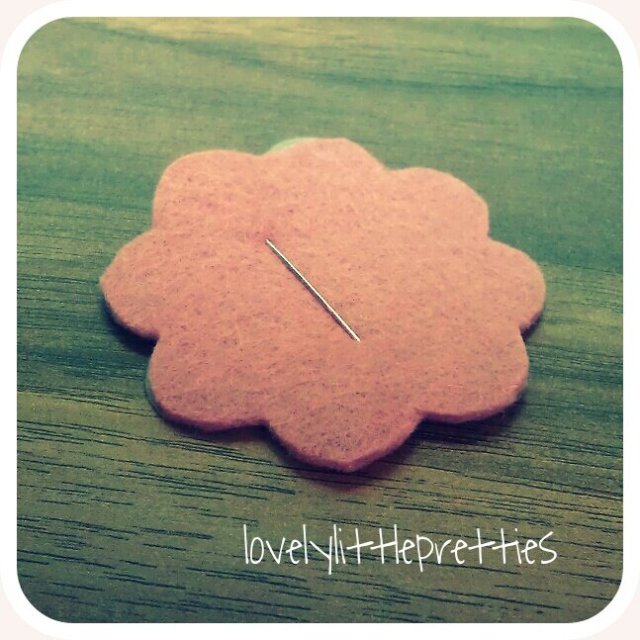
Step two

Cut out the flower template shape from the felt.

image

You will need to do this at least 6 times, depending on how full you would like the finished flower to look.

image

Step three

Once you have the required amount of flowers you would like take the 1st flower felt piece and put a tiny dab of hot glue in the center and fold in half, pressing down firmly. Then put another tiny dab in the centre of the folded half and fold again to make a petal.

image

Repeat these process with all the felt pieces you have cut out.

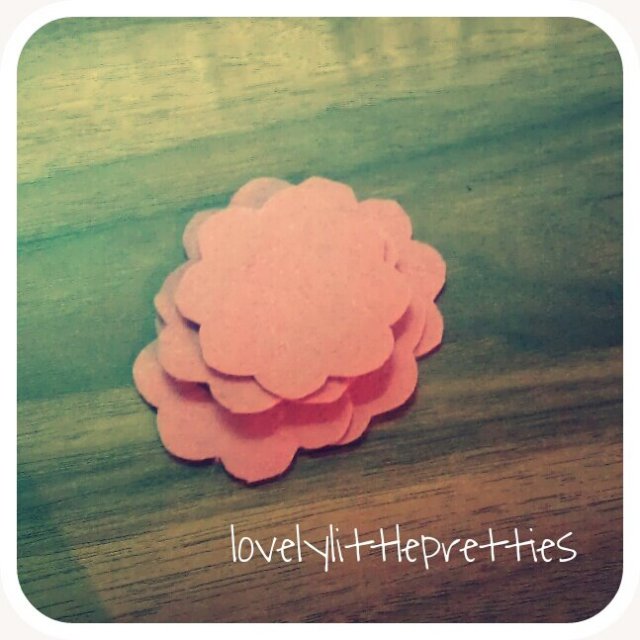
Step four

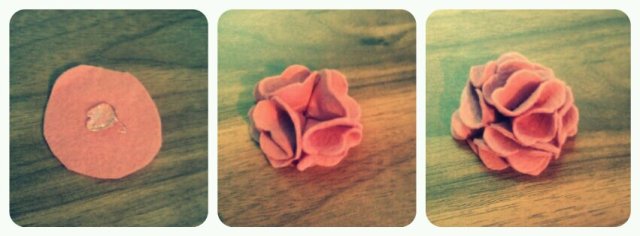
Out of some of the left over felt cut a small circle that will be used as the base for the flower. Put a large dab of glue in the center of the circle and place the “petals” with the point inwards. 4 will make a good base, then place another 2 on top. The flower will look nice a full by this stage.

image

Step 5

Take the button and glue in the centre of the flower to finish it off.

image

These little flowers can now be used in all different types of craft projects. I will be attaching mine to a babies headband.

Hope you enjoyed :0)

It’s been far too long….

My blog has taken a back seat for far too long, and too be totally honest so has the crafting.

In august we found out that our little family was growing by one :0) so along with looking after my little man I struggled with early pregnancy. As the weeks went on I just lost my grove.

I am please to say that over the last few weeks I have got the craft stuff back out (thanks to Xmas) and got my mojo back.

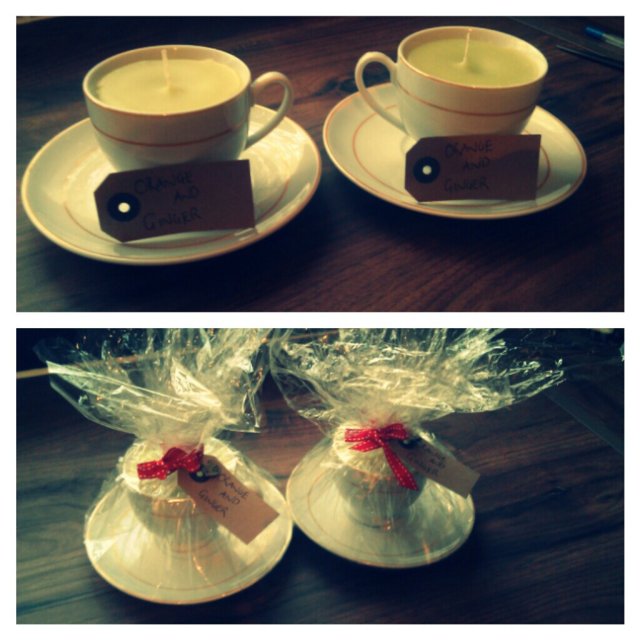
I have just finished making a couple of tea cup candles for little man’s teachers Xmas gifts..

image

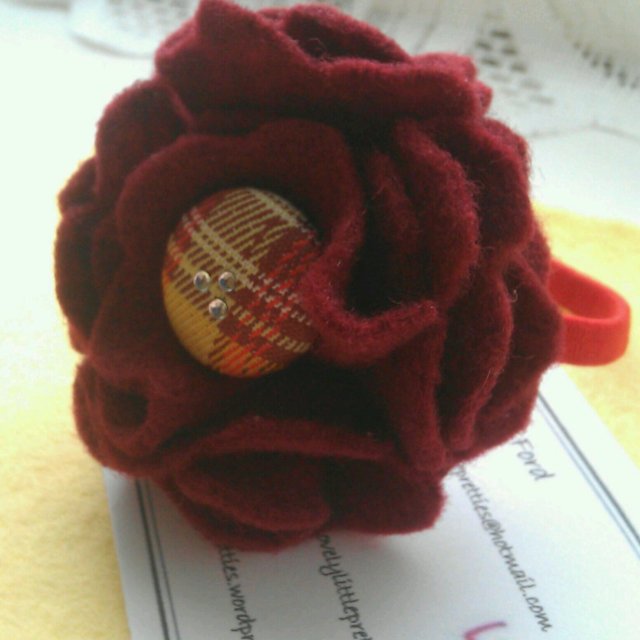
And a few weeks ago made some lovely little felt flowers for hair bands, for a special little girl.

image

Thinking of doing a tutorial for the flower, they were so easy to make and I think they look gorgeous, I already have a tutorial for the candles :0)

I will try not to leave it so long next time ;0)

The person behide Lovely little pretties….

So who am i you may ask…. well i thought that i would give you  a peek into my life.

  • I love to craft.
  • I love handmade.
  • I work full time  as a systems clerk in distribution.
  • I’m 31.
  • I am a mummy to a 3 year old boy.
  • I have been with my partner for 6 years.
  • I like to read.
  • I have fibromyalgia / ME.
  • I have a Dog, Cat and two Bearded Dragon.
  • I love pretty things.

Image

How too….. Felt bows

Hello and welcome to my second tutorial, i hope you enjoy it as much as the first. So today i am going to talk you though how i made one of my hair bows for my new range “Bella”

What you will need….

Image

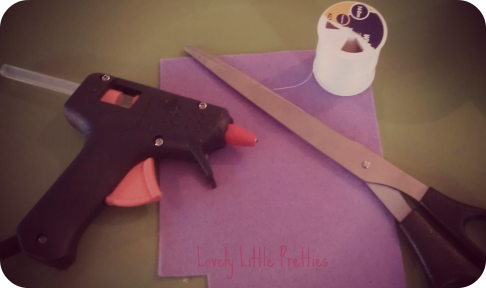
  1. Felt
  2. gluegun
  3. cotton
  4. scissors
  5. tape measure

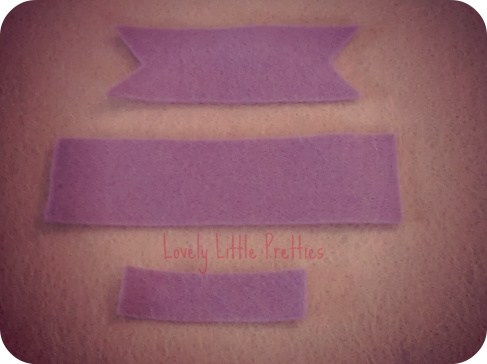
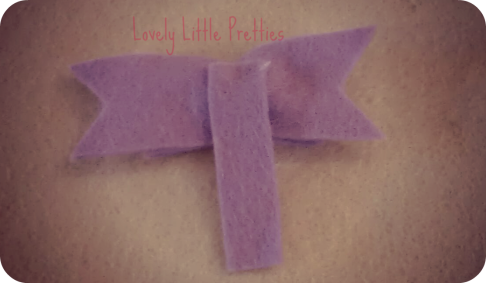
To start the felt bow cut 2 pieces of felt  1in x 4in and 1in x 3in, a 3rd piece is need but i did this by eye (please see pic). Take the 3in piece of felt and fold in half length ways cut into the fold from the corner to make the “tails” of the bow

Image

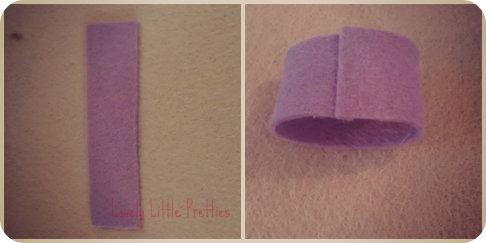
Take the 4in piece of felt and put a dab of glue at one end bringing the other end to meet it to form a circle.

Image

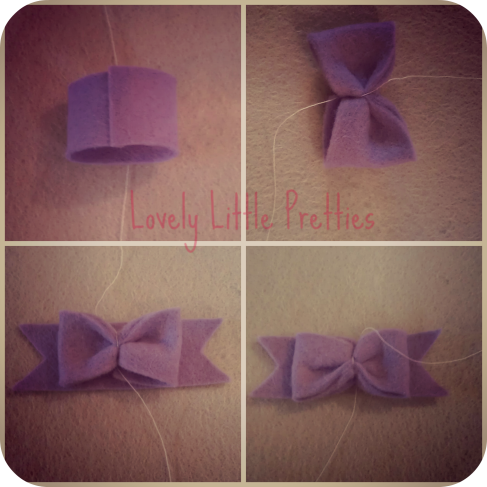
Now take a length of cotton and feed under the circle bringing it back over the top to tie a knot, making sure that you pull the felt together in the middle. don’t worry to much if it looks untidy you can rearrange the bow at any point.

Image

Now take the piece of felt that you cut the tails into and place under the “bow”, feed the cotton back under and tie another knot making sure to pinch together both pieces of felt. Once you are happy cut away any cotton.

Take the last piece of felt put a dab of glue on it and fix to the back of the bow in the center

Image

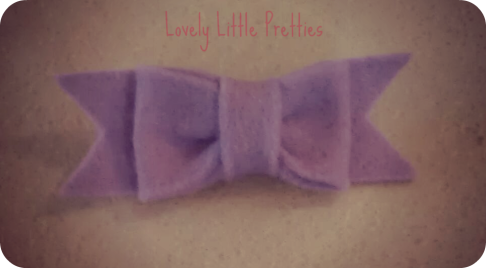
Wrap the strip of felt all the way round the front of the bow and again fixing at the back with a little bit more glue.

Image

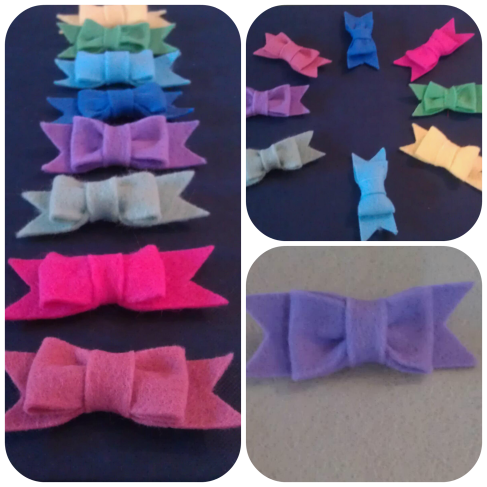
This little bows are super cute and can be attached to a clippie, baby soft headband, aliceband or hair bobble. I hope that you enjoyed and i will leave you with a few others that i have been making. Oh and if you would like to check out my other ranges pop along to my Facebook  page to have a look.

Image

Image

A peek on how too…

This is my first tutorial, so i do hope you all enjoy.

I love to make candles, I love the smell that fills the kitchen when making them & i love the finished results of a cute little candle just waiting to be lit. So today i am going to show you how i make my candles at home.

You will need

  • Wax
  • Double boiler (or one saucepan on top of another)
  • Electric hob / plate
  • glass container to hold the candle
  • wick
  • jug

Image

First work out how much wax you will need: fill your glass container with water and measure the amount. Say it’s 150ml (5 fl oz), you will need the corresponding amount of wax, so 150 g (5 oz).

Put your wax ingredient(s) into the top pan of a double-boiler, and pour water into the bottom pan. (All wax has a flash point, so a double-boiler is essential to prevent it bursting into flames.)

candle 3

While the wax is melting its time to fix the wick into the glass container that the wax will be poured into to set the candle. I fix the wick in between two pencils to hold straight.

candle 2

Once the wax is melted its time to pour it from the pan into a jug, than that gets poured into the glass container (please take this slow and carefully.) Remember to save some of the melted wax back you will need this later to top up and level the wax out.

candle 4candle 5candle 6

After approximately 30 minutes, you will notice a well forming in the top of the wax as it cools. Break the skin of the well, taking care to keep the wick in the centre of the cup. Do this every 20 minutes until the wax has fully congealed. Now reheat your remaining wax and fill the waxwell. For larger containers, you might have to repeat this topping-up process a few times.

candle 7

Now leave the wax to cool and harden completely. After a few hours you will be able to trim the wick down and pretty the jar to how you see fit. :0)

candle 9

After one day your candle will be ready to burn.

Watermark